

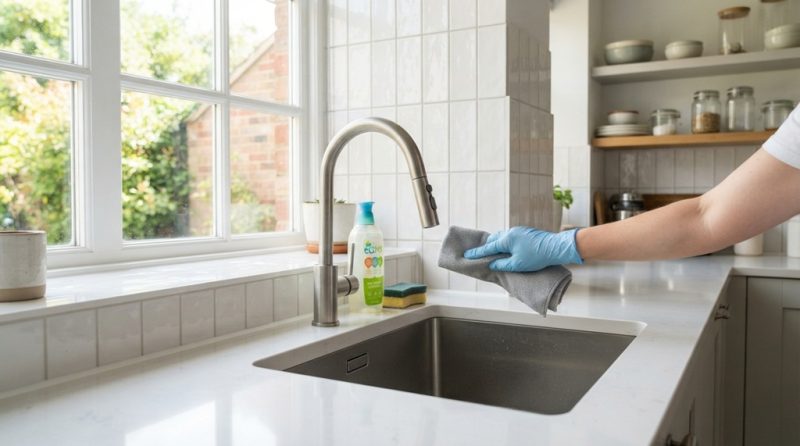
You prevent kitchen mold around the sink and backsplash by fixing leaks fast, drying wet surfaces daily, and keeping air moving through the space. Mold needs moisture to survive. Take the moisture away, and mold has nowhere to grow.
The sink area is one of the wettest spots in your whole house. Splashes, drips, and steam hit it all day long. Add a warm kitchen and poor airflow, and you have the perfect setup for mold.
The good news? Most mold problems start small and stay preventable. A few daily habits and one or two smart upgrades can keep your sink and backsplash clean for years.
Why Mold Grows Around Kitchen Sinks and Backsplashes
Mold grows here because this area stays damp more often than any other part of your kitchen. Mold spores are already in the air. They only need moisture and a food source to settle in and multiply.
Your backsplash and sink area offer both. Food splatter, grease, and soap scum give mold something to feed on. Water from dishwashing, faucet drips, and steam from cooking keeps the surface damp for hours at a time.
Grout lines are especially risky. Grout is porous, so it soaks up water instead of shedding it. Once moisture sits inside grout, mold can grow beneath the surface where you can’t easily see it.
Hidden Moisture Traps Behind Kitchen Mold
Most homeowners blame visible splashes from daily dishwashing, but invisible, slow-accumulating leaks often do the bulk of the damage. Common culprits like a slow drip under the cabinet, a worn-out faucet gasket, pipe condensation, or a subtle seepage from a dishwasher hose connection steadily feed spore growth out of sight a problem compound by leaving wet sponges or damp dish rags resting directly on your countertop. Routine monthly checks of these hidden zones prevent minor leaks from maturing into stubborn mold colonies, keeping your surrounding surfaces and nearby iron cookware safe from ambient humidity. Once your sink area is thoroughly dried and sealed, protect the rest of your kitchen essentials by reading our step-by-step guide season a cast iron pan for a non-stick finish to preserve your pans against moisture and rust.
Fix Leaks and Standing Water First
Fixing leaks is the single most important step, because mold cannot grow without a steady water source. Even a tiny drip, left unchecked, can feed mold for months.
Start under the sink. Pull everything out and look for water stains, warped wood, or a musty smell. Run your hand along the pipes and connections while the water runs. If anything feels damp, tighten the fitting or call a plumber.
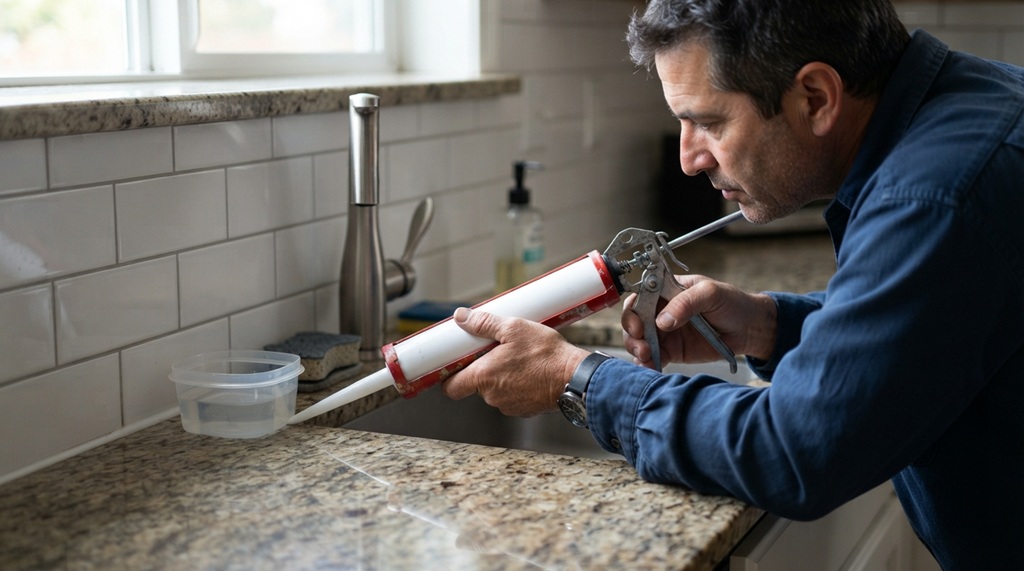
Next, check the caulk seal where your countertop meets the backsplash. This seal keeps water from sneaking behind the tile or wall. If the caulk looks cracked, yellowed, or pulls away from the surface, water is likely getting through.
A Simple Monthly Leak Check
Try this quick test once a month. Place a dry paper towel under the sink pipes and faucet connections overnight. In the morning, check for any wet spots. This low-cost trick catches slow leaks long before they cause visible damage.
Improve Air Circulation and Reduce Humidity
Better airflow dries out moisture before mold has a chance to grow. Mold thrives in still, humid air, so movement is one of your best defenses.
Turn on your range hood every time you cook, especially when boiling water or steaming vegetables. This pulls humid air outside instead of letting it settle on your backsplash. If your kitchen doesn’t have a vent hood, crack a window during and after cooking.
Under the sink, airflow matters just as much. Cabinets trap moisture because they stay closed most of the day. Leave the cabinet door open for a while after washing dishes. This lets trapped humid air escape instead of sitting against the wood and pipes.
A Simple Trick Most Guides Skip
Most articles stop at “open a window.” Here’s one step further: place a small silica gel packet or a moisture-absorbing container inside your under-sink cabinet. These inexpensive products pull excess humidity out of the air in enclosed spaces. Swap them out every one to two months, and you’ll notice far less of that musty cabinet smell.
A basic hygrometer, which measures humidity, can also help. Kitchens should stay below 60% relative humidity. If yours runs higher, a small dehumidifier for the room can make a real difference.
Choose Mold-Resistant Materials and Sealants
The right materials give mold fewer places to take hold, even when moisture is present. Some surfaces resist water naturally, while others soak it up and invite trouble.
Swap standard caulk for a silicone-based, mold-resistant caulk around your sink and backsplash edges. Silicone repels water better than acrylic caulk, and mold-resistant formulas include additives that slow fungal growth.
For grout, ask for an epoxy grout instead of standard cement grout when you renovate. Epoxy grout barely absorbs water, which makes it far harder for mold to establish itself. If replacing grout isn’t in your budget right now, apply a penetrating grout sealer once a year instead.
Materials Worth Considering
| Material | Why It Helps |
|---|---|
| Silicone caulk | Repels water, flexible, resists cracking |
| Epoxy grout | Nearly waterproof, low maintenance |
| Non-porous backsplash (glass, solid tile) | Doesn’t absorb moisture like porous stone |
| Stainless or composite sink | Dries fast, doesn’t trap water like some stone sinks |
If you’re planning a kitchen update, these small material choices pay off for years afterward.
Clean and Dry the Right Way, Every Day
Daily cleaning removes the food and grease mold needs to grow, while daily drying removes the water it needs to survive. Skipping either step gives mold an opening.
After washing dishes, wipe down the backsplash and countertop with a dry towel. This takes less than a minute but removes the standing moisture that mold loves. Don’t leave wet sponges or rags sitting against the backsplash overnight. Wring them out and hang them somewhere they can fully dry.
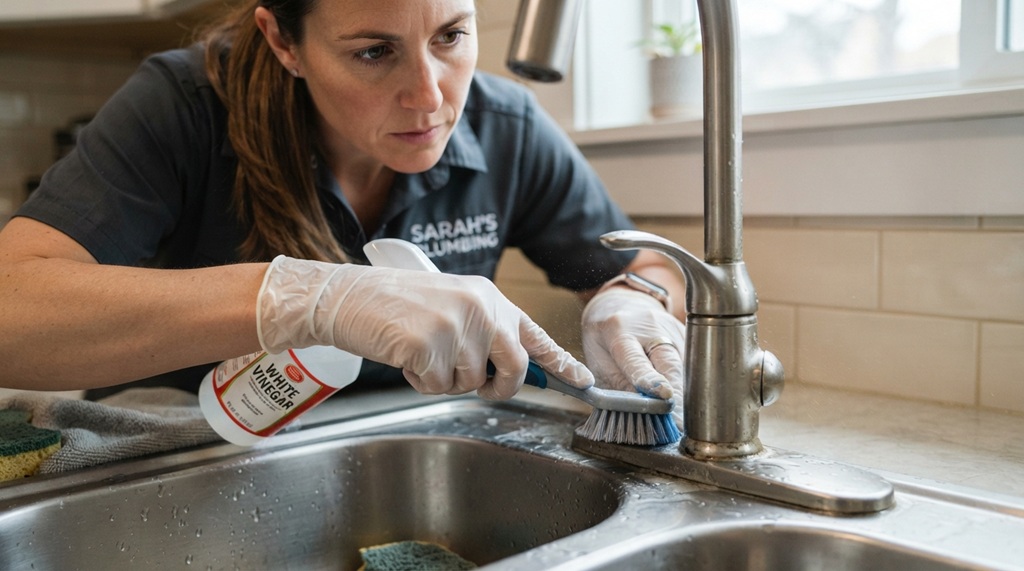
Once a week, clean the grout lines with a mix of warm water and mild dish soap. For grout that already looks discolored, a paste of baking soda and water, scrubbed in with an old toothbrush, works well without damaging the surface.
What to Avoid
Bleach might seem like the obvious fix, but it only kills mold on the surface. It doesn’t reach mold growing inside porous grout or caulk, and it can actually break down some caulk and grout over time. A dedicated mold-and-mildew cleaner, or a vinegar-based solution, usually works better on porous surfaces.
Spot the Early Warning Signs Before Mold Spreads
You catch mold early by watching for small changes in smell, color, and texture around your sink and backsplash. These signs almost always show up before mold becomes a bigger problem.
A musty smell is often the first clue, even before you see anything. Trust your nose here. If the area under your sink smells off, something is holding moisture.
Dark spots in grout lines or along caulk edges are the next sign. These can look black, green, or grayish. Peeling or bubbling caulk is another red flag, since it means water has likely gotten underneath.
Quick Signs Checklist
- Musty or earthy smell near the sink
- Dark specks in grout or along caulk lines
- Caulk that’s peeling, bubbling, or discolored
- Soft or swollen wood inside the cabinet
- Water stains on the cabinet floor or back panel
Catching any of these early lets you handle the problem with a simple cleaning, instead of a full repair.
When to Call a Professional
Call a professional when mold covers a large area, keeps returning after cleaning, or hides behind a wall or cabinet you can’t access. A patch of mold smaller than about 10 square feet is usually safe to clean yourself with the right products and gloves.
If mold keeps coming back in the same spot even after you’ve cleaned and dried it properly, there’s likely a hidden leak feeding it. A plumber can find and fix leaks inside walls or under flooring that you can’t see or reach.
Also call a mold remediation specialist if anyone in your home has asthma, allergies, or a weakened immune system, since mold exposure can affect them more seriously. According to industry experts, professional remediation is also worth it when mold has spread behind drywall or cabinetry, since removing it properly requires more than surface cleaning.
Frequently Asked Questions
What kills mold around a kitchen sink for good?
No single product kills mold “for good,” because mold returns if moisture returns. A vinegar or hydrogen peroxide solution kills existing mold well, but you also need to fix the water source. Combine cleaning with leak repairs and better airflow for lasting results.
Is black mold around a kitchen sink dangerous?
Dark mold in a kitchen isn’t always toxic black mold, but it should still be treated seriously. Any mold can trigger allergies or breathing issues in sensitive people. If you’re unsure what type you’re dealing with, treat it as a health risk and clean it up right away or call a professional.
How often should I reseal my backsplash caulk?
Most kitchen caulk lasts one to two years before it needs replacing. Check it every few months for cracking, peeling, or discoloration. Reseal sooner if you notice any gaps where water could seep through.
Can a dishwasher cause mold near the sink?
Yes, a dishwasher can cause mold nearby if its door is left closed after each use, trapping steam and moisture inside. It can also leak slowly at hose connections without any obvious sign. Leave the dishwasher door cracked open after cycles, and check the hose connections monthly.
Does a garbage disposal contribute to sink mold?
Yes, food particles trapped in a garbage disposal create a damp, food-rich environment mold enjoys. Run cold water for a few seconds after each use to flush leftover debris. Cleaning the disposal weekly with ice and a bit of dish soap also helps keep it fresh.
Conclusion
Kitchen mold around the sink and backsplash almost always comes down to one thing: moisture that sticks around too long. Fix leaks quickly, dry the area daily, keep air moving, and choose materials that resist water in the first place. Small habits, done consistently, keep this high-moisture zone clean and mold-free without much effort at all.
