

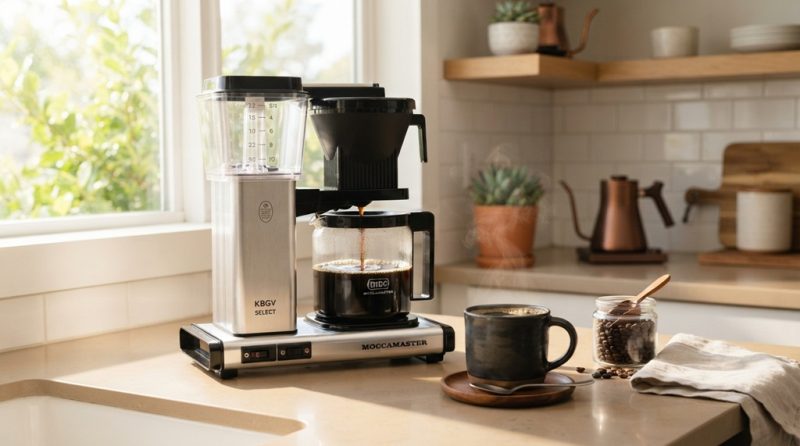
Dirty coffee makers make bad coffee. Coffee oils build up inside the machine. Mineral deposits from water form scale on the heating parts. Both change the taste of your brew.
Over time, these deposits can make your coffee taste bitter, stale, or even sour. You might blame your beans. But often, the real problem is a machine that hasn’t been cleaned in months.
A clean coffee maker also lasts longer. Scale buildup can clog the water lines and slow down brewing. Regular cleaning protects your machine and your morning cup.
What You’ll Need to Clean a Coffee Maker
You don’t need fancy products. Most of what you need is already in your kitchen.
Basic Cleaning Supplies
- White vinegar or a citric acid cleaner
- Fresh water
- Dish soap
- A soft sponge or cloth
- A small brush (an old toothbrush works well)
Optional Tools for a Deeper Clean
- Baking soda (for stubborn stains)
- Coffee maker descaling solution (for machines with hard water buildup)
- A microfiber cloth for the exterior
Most of these items cost very little. Vinegar alone can handle most of the cleaning job.
How to Clean a Coffee Maker with Vinegar
Vinegar breaks down mineral scale and kills mild bacteria buildup. It’s the most common method for a reason: it works.
Step 1: Mix the Cleaning Solution
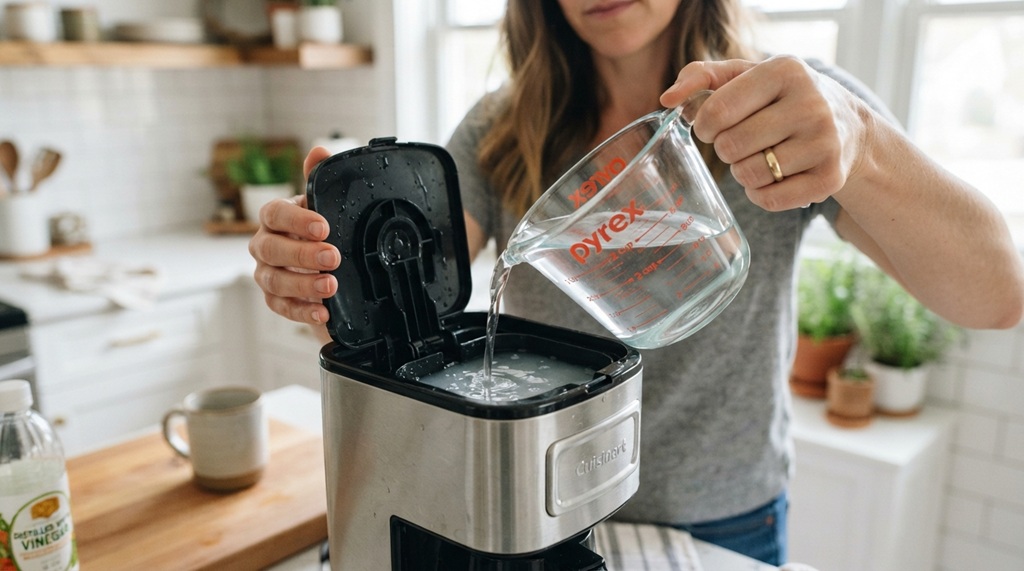
Combine equal parts white vinegar and water. Fill the reservoir with this mixture. For a standard 12-cup machine, use about 4 cups of solution.
Step 2: Run a Brew Cycle
Place a paper filter in the basket. Start a normal brew cycle. Let the machine run halfway, then turn it off. Let the solution sit inside the machine for 30 minutes.
Step 3: Finish the Brew Cycle
Turn the machine back on and let it finish. The vinegar smell will be strong. That’s normal.
Step 4: Run Two Cycles with Fresh Water
Empty the pot and refill it with plain water. Run a full brew cycle. Do this twice to rinse out any leftover vinegar taste.
How to Clean the Removable Parts
The carafe, filter basket, and lid collect the most coffee residue. These parts need regular hand washing, not just the vinegar cycle.
Wash the carafe with warm water and dish soap after every use. Coffee oils stick to glass and plastic quickly. If you notice a dull film on the inside of the pot, that’s built-up residue.
Soak the filter basket in warm soapy water once a week. Use a small brush to scrub any grounds stuck in the mesh or corners. Rinse well and let it air dry.
Don’t forget the lid and any drip trays. These parts often get skipped, but they can hold moisture and grow mold if left damp.
How Often You Should Clean Your Coffee Maker
The removable parts need washing after every use. The full descaling process should happen every one to three months.
If you have hard water, clean your machine more often. Hard water leaves more mineral scale, which builds up faster and affects taste sooner. Soft water areas can often stretch cleaning to every three months.
A simple way to check: if your coffee tastes off, or the brew cycle runs slower than normal, it’s time to clean.
A Cleaning Tip Most Guides Skip: Check Your Water Filter

Many coffee makers have a small charcoal water filter built into the reservoir. This filter often gets forgotten during cleaning, even though it directly affects taste.
These filters absorb chlorine and odors from tap water. But they wear out. Most manufacturers recommend replacing them every two months, even if you clean the rest of the machine regularly. A worn-out filter can let unfiltered water through, which brings back the exact flavors you’re trying to avoid.
Check your coffee maker’s manual for the filter’s location. It’s usually a small cylinder inside the water reservoir. Replacing it costs just a few dollars and takes seconds.
How to Keep Your Coffee Maker Clean Longer
A few small habits can cut down how often you need a deep clean.
- Empty and rinse the carafe right after brewing, not hours later.
- Use filtered water instead of tap water if you have hard water.
- Wipe down the exterior weekly to prevent dust and spills from building up.
- Leave the lid open between uses so moisture can dry out.
- Store used filters and grounds away from the machine right away.
Keeping your daily kitchen appliances in top shape ensures your food and drinks always taste their best. If you’re looking to streamline the rest of your kitchen routine alongside your morning brew, guide on to choose the right air fryer size for your family.
Frequently Asked Questions
Can I use apple cider vinegar to clean my coffee maker?
Apple cider vinegar can work, but white vinegar is better. White vinegar has a more neutral smell and won’t leave behind any lingering fruity taste in your machine.
How do I know if my coffee maker needs descaling?
Watch for slower brew times, strange noises during brewing, or a bitter and off taste in your coffee. Visible white or gray buildup around the water reservoir is another clear sign.
Is it safe to clean a coffee maker with bleach?
It’s best to avoid bleach. It can leave behind a chemical smell and taste that’s hard to fully rinse out. Vinegar or a dedicated descaling solution is a safer, more effective choice.
Can I clean a single-serve coffee maker the same way?
Yes, the vinegar method works for single-serve machines too. Run the vinegar solution through a brew cycle, let it sit, then run several cycles of plain water to rinse it out completely.
Why does my coffee still taste bad after cleaning?
Check your water filter first, since an old one can affect taste even after cleaning. Also make sure you rinsed thoroughly with plain water, since leftover vinegar can leave a sour taste behind.
Final Thoughts
A clean coffee maker makes a real difference in how your coffee tastes. Regular washing of the removable parts, along with a vinegar descale every few months, keeps your machine working well and your coffee tasting fresh.
Small habits, like emptying the carafe right away and swapping out the water filter, add up over time. Your morning cup will thank you.
