

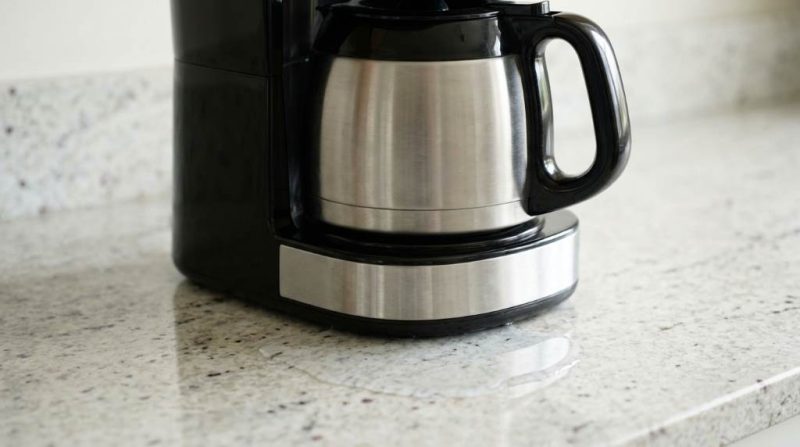
Coffee makers are essential appliances in millions of American households, yet nearly 30% of users report experiencing leaks at some point during their machine’s lifespan. If you have ever walked into your kitchen to find a puddle forming beneath your machine, you already know how frustrating this problem can be. Understanding why is my coffee maker leaking from the bottom can save you time, money, and the headache of replacing an otherwise functional appliance. This guide breaks down every possible cause and gives you practical, step-by-step solutions to fix the issue for good.
Common Reasons Why Your Coffee Maker Leaks from the Bottom
Before you attempt any fix, you need to identify the root cause of the leak. Several issues can trigger bottom leaks, and each one requires a different approach. Fortunately, most of these problems are easy to diagnose at home without professional help. Understanding the source is the first and most important step toward a lasting solution.
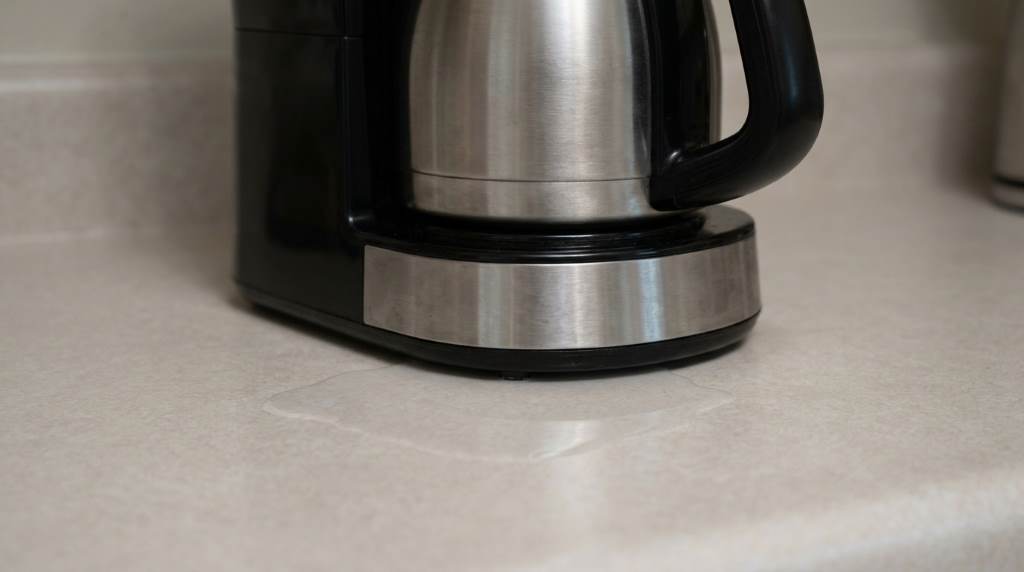
Cracked or Damaged Water Reservoir
The water reservoir is the most common culprit when a coffee maker starts leaking from the bottom. Over time, plastic tanks develop hairline cracks due to regular temperature changes and everyday wear. Even a tiny crack can allow water to seep through and pool beneath the machine. You may not always see the crack clearly, so run your finger along the reservoir’s surface to feel for any imperfections.
To confirm this issue, fill the reservoir while it sits outside the machine on a dry countertop. If a puddle forms beneath it, the reservoir is definitely damaged. Many manufacturers sell replacement reservoirs that are affordable and easy to swap out. However, if your model is discontinued, a strong waterproof food-safe epoxy can serve as a temporary fix.
Worn-Out or Loose Seals and Gaskets
Seals and gaskets create a watertight barrier between the internal components of your coffee maker. These rubber parts degrade naturally over time, especially with regular exposure to heat and moisture. When they crack or loosen, water bypasses its intended path and drips straight to the bottom. This is one of the top reasons why is my coffee maker leaking from the bottom in machines older than two years.
Inspect the seal around the carafe port and the internal tubing connections. A misaligned or hardened gasket will look visibly warped or feel brittle to the touch. Replacement gaskets are widely available online for most major brands like Keurig, Mr. Coffee, and Cuisinart. Replacing them typically takes less than ten minutes and requires no special tools.
Clogged Internal Tubes or Valves
Mineral deposits from hard water build up inside the internal tubing over time. These blockages redirect water flow and force it through unintended pathways, causing leaks at the base. Many homeowners overlook this issue because the leak appears unrelated to scale buildup. Nevertheless, regular descaling can prevent this problem entirely.
Mix equal parts white vinegar and water, then run a full brew cycle without coffee grounds. Follow that with two plain water cycles to rinse out any vinegar residue. Doing this every one to three months keeps your internal valves clear and functional. Additionally, using filtered water significantly reduces mineral accumulation inside the machine.
Overfilling the Water Tank
Overfilling is a surprisingly common and easily overlooked cause of bottom leaks. Every coffee maker has a maximum fill line, and exceeding it puts excess pressure on seals and joints. That pressure forces water to find an exit, which is often the bottom of the machine. Always check the MAX line before adding water, especially when you are in a hurry.
Furthermore, some machines have float sensors that detect overfilling and shut off the water inlet valve. If that sensor is dirty or faulty, it may not trigger correctly, allowing water to overflow internally. Cleaning the reservoir thoroughly every few weeks helps keep sensors functioning properly. A small habit like checking the fill line every single brew can prevent a recurring mess.
How to Diagnose the Exact Source of the Leak
Step-by-Step Leak Diagnosis
Proper diagnosis saves you from replacing parts unnecessarily. Follow these steps to pinpoint the leak source:
- Unplug the coffee maker and remove all water from the reservoir.
- Place the machine on a dry paper towel and refill the reservoir to the halfway mark.
- Wait five minutes without brewing and check where moisture appears on the towel.
- Next, run a brew cycle and watch the bottom of the machine carefully during operation.
- Mark the wet spot and trace it back to the nearest internal component above it.
This method works for virtually every drip-style and pod-based coffee maker on the market. Taking photos during diagnosis helps you explain the problem when ordering replacement parts.
When to Repair vs. Replace Your Coffee Maker
Not every leaking coffee maker is worth repairing. If your machine is under warranty, always contact the manufacturer first because most brands cover leaks caused by manufacturing defects. Brands like Keurig, Breville, and Hamilton Beach offer strong warranty programs that include free replacements. Therefore, checking your warranty paperwork before spending money on parts is a smart move.
On the other hand, if your machine is older than five years and the repair cost exceeds half the price of a new unit, replacement makes more financial sense. Newer models also tend to be more energy-efficient and offer better brewing performance. Consider the repair-versus-replace decision carefully based on age, repair cost, and the machine’s overall condition.
Preventive Maintenance to Stop Future Leaks
Prevention is always better than repair when it comes to appliance maintenance. A consistent cleaning routine dramatically extends the lifespan of your coffee maker and reduces leak risk. Here are the most effective preventive habits you should build into your routine:
- Descale your machine every one to three months using a vinegar-water solution or a commercial descaler.
- Inspect all rubber seals and gaskets every six months for signs of wear.
- Avoid overfilling the water reservoir beyond the MAX line.
- Clean the carafe and its port daily to prevent gunk buildup near the seal.
- Store the machine in a dry location and avoid sudden temperature shocks to the reservoir.
These simple steps take only a few minutes but can add years to your machine’s functional life.
Conclusion
Now you know exactly why is my coffee maker leaking from the bottom and, more importantly, how to fix it. Whether the cause is a cracked reservoir, a worn gasket, a clogged valve, or simple overfilling, every problem has a clear solution. Start with a thorough diagnosis, address the root cause directly, and build a maintenance routine to prevent future leaks. If your machine is still under warranty, reach out to the manufacturer today. Otherwise, grab the right replacement part and restore your coffee maker to perfect working condition. Do not let a small leak cost you a great morning cup.
Frequently Asked Questions
Why is my coffee maker leaking from the bottom only during brewing?
The leak likely happens due to pressure buildup from a clogged internal tube or a loose seal that only fails under brewing pressure.
Can I still use my coffee maker if it is leaking from the bottom?
No, you should stop using it immediately because water near electrical components creates a serious safety hazard.
How do I fix a leaking Keurig coffee maker at the bottom?
Check the bottom needle, water reservoir seal, and internal tubing for clogs or damage, then clean or replace the faulty part.
Does overfilling cause permanent damage to my coffee maker?
Repeated overfilling can permanently stretch or damage seals and gaskets, eventually leading to leaks that worsen over time.
How often should I descale my coffee maker to prevent leaks?
Descale your machine every one to three months, or more frequently if you use hard tap water regularly.