

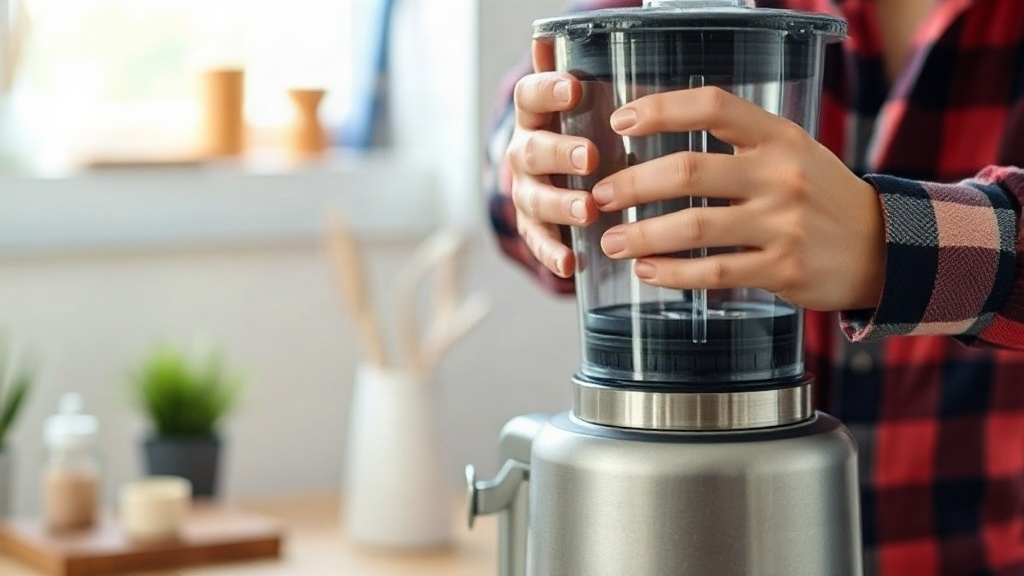
A blender that smells like burnt rubber after a month usually fails for preventable reasons. If you want to know how to extend your blender lifespan with simple maintenance, the honest answer is that a few minutes of care each week matters more than the brand name on the base. Most breakdowns trace back to neglect, not manufacturing defects.
Quick answer: Rinse the jar immediately after every use, wash and dry the blade assembly and gasket by hand, and never fill past the maximum line. Run the motor in short bursts instead of long continuous cycles, and check the blade nut and drive coupling monthly. Those four habits prevent the most common causes of premature failure.
This guide covers the tools you need, a repeatable cleaning and inspection routine, the daily habits that protect the motor, and the mistakes that quietly kill blenders. You will finish with a maintenance schedule you can actually keep.
What you need before starting
Gather a small kit once, and every cleaning session becomes fast enough that you will actually do it. You likely own most of these items already.
Supplies and tools to assemble
- Warm water and a few drops of dish soap for the daily rinse.
- A soft sponge or bottle brush that reaches the jar’s corners.
- A clean microfiber cloth or two lint-free towels for drying.
- A small stiff brush (an old toothbrush works well) for the blade hub and gasket groove.
- A shallow container or tray to hold small parts so they do not roll into the sink drain.
- White vinegar for mineral film and mild odor.
- A soft-tip marker or sticky note if you want to track your inspection dates.
Avoid steel wool, scouring pads, and abrasive cleansers. They scratch polycarbonate jars and dull stainless blades over time.
Know your blender’s parts before you clean it
Take two minutes to identify what your model actually has. Most blenders share the same core components, but the names differ between brands, and that matters when you look up replacement parts.
- Base and motor housing: contains the motor, switches, and ventilation slots.
- Jar: glass, copolyester, or tritan plastic.
- Lid and filler cap: often the part that traps the most residue.
- Blade assembly: either a removable base that unscrews from the jar or a fixed blade set.
- Gasket or seal ring: a rubber ring that sits between the blade base and the jar.
- Drive coupling or clutch: the plastic or rubber piece that links the motor to the blade shaft.
Write down your model number from the base label now. You will need it when ordering a gasket or coupling later, and labels fade with washing.
Prerequisites and safety checks
Unplug the blender before any cleaning or inspection step. This is not a formality: a bumped switch on a plugged-in base is a genuine injury risk, and wet hands near the cord are worse.
Check the cord and plug for cracks or fraying before each session. If the cord is damaged, stop using the machine until it is repaired or replaced. Never immerse the base in water; wipe it down instead.
Confirm which jar material you have. Glass handles hot water and dishwasher cycles without issue. Polycarbonate and tritan jars are more heat-sensitive, so keep rinse water warm rather than steaming.
Many manufacturers rate jars as dishwasher-safe but recommend hand-washing the blade base and gasket. Follow the manual for your specific model.
Step-by-step instructions
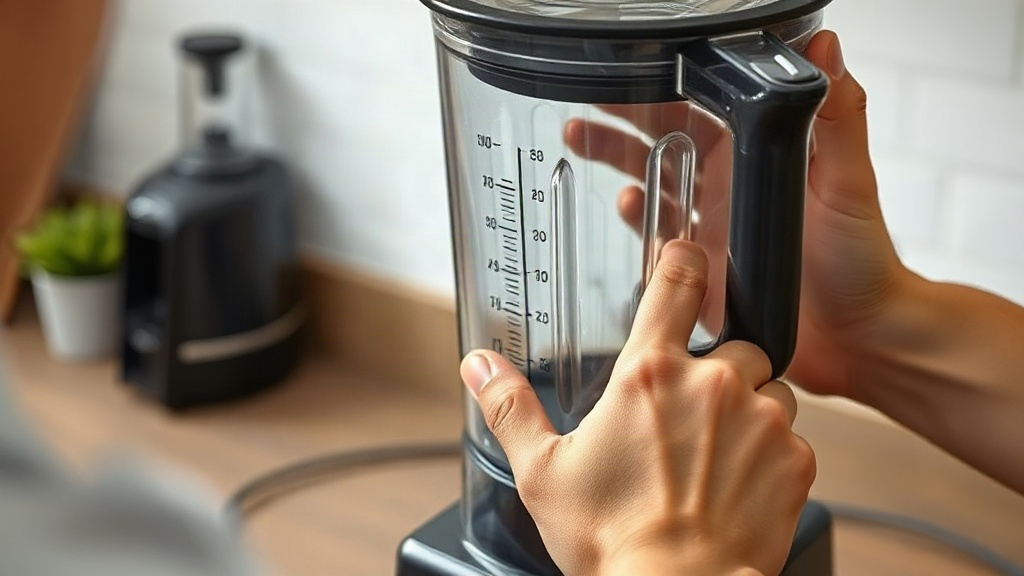
Run this routine in order after each use, then repeat the full inspection once a month.
Step 1: Rinse the jar immediately after pouring
Fill the jar about one-third full with warm water and a drop of soap, secure the lid, and run the blender on low for five to ten seconds. Empty it and rinse again with clear water. This single step prevents most dried-on residue and takes under a minute.
Step 2: Disassemble the blade base and gasket
Unscrew the blade base from the jar if your model allows it. Lift out the gasket and set both parts in your shallow tray. Fixed-blade models skip this step; clean around the blade hub with your small brush instead.
Step 3: Wash each part by hand
Wash the jar, lid, filler cap, blade base, and gasket in warm soapy water. Use the soft sponge on the jar and the small brush around the blade hub and the gasket groove. Rinse everything under running water until no soap film remains.
Step 4: Dry completely before reassembly
Shake excess water from the jar and dry every surface with a lint-free towel. Pay particular attention to the gasket groove and the threads on the blade base. Trapped moisture under the gasket is the leading cause of musty smells and cloudy seals.
Step 5: Reassemble and check the fit
Seat the gasket flat in its groove, screw the blade base back on firmly by hand, and confirm the jar sits level on the base. A gasket that is twisted or pinched will leak on the next blend.
Step 6: Wipe the base and clear the vents
Unplug the blender and wipe the motor housing with a barely damp cloth. Use a dry brush to clear dust from the ventilation slots. Blocked vents make the motor run hotter, and heat shortens motor life faster than almost anything else.
Step 7: Inspect the coupling monthly
Look at the drive coupling where it meets the blade shaft. Light wear is normal; deep cracks, rounded teeth, or a shredded star shape mean it is time for a replacement. Couplings are inexpensive and easy to swap, so catching wear early saves the motor.
A note on the fridge or a phone reminder every 30 days keeps the monthly check from slipping.
Tips for better results
These habits protect the motor and blades between cleanings, and they cost nothing.
Respect the fill line and the batch size
Never fill past the maximum line, and keep dry ingredients to roughly half the jar. Overfilling forces the motor to work harder and can push liquid into the lid vent. Blend large batches in two smaller rounds instead of one full jar.
Use short bursts for thick mixtures
Run thick mixtures like nut butter or frozen fruit in pulses of a few seconds rather than one long cycle. Give the motor 10 to 15 seconds of rest between bursts. This lets heat dissipate and reduces strain on the coupling.
Add liquid before solids
Pour liquid in first, then add soft ingredients, then ice or frozen items on top. This order keeps the blades moving freely and reduces the jamming that leads to overload.
Handle the blades with care
Never reach into the jar with your fingers, even when it is empty. Use a spatula to scrape, and wash blades with the brush rather than a cloth wrapped around your hand. Dull blades mash food instead of cutting it, which means longer run times and more heat.
Treat the jar according to its material
Glass jars tolerate hot rinse water and dishwasher cycles. Polycarbonate jars should avoid very hot water and harsh detergents, which cloud the surface over time. Never pour boiling liquid into any blender jar; sudden temperature change can crack glass and warp plastic.
Consider a monthly deep clean
Once a month, soak the jar and lid in a mix of one part white vinegar to three parts warm water for 15 minutes. Rinse well and dry. This dissolves mineral film and neutralizes odors that regular washing leaves behind.
Monthly maintenance checklist:
| Task | Frequency | Time needed |
|---|---|---|
| Rinse jar after use | Every use | Under 1 minute |
| Wash blade base and gasket by hand | Every use | 2–3 minutes |
| Wipe base and clear vents | Weekly | 1 minute |
| Inspect coupling and gasket | Monthly | 2 minutes |
| Vinegar soak | Monthly | 15 minutes |
The pattern to notice is that the most frequent tasks are the shortest. Consistency with the daily rinse matters more than any single deep clean.
Common mistakes to avoid
Most ruined blenders show the same handful of errors. Spotting them in your own routine is the fastest way to add years of service.
Putting the base in the sink
Submerging or heavily splashing the motor housing lets water reach the motor windings and switches. That damage is usually permanent. Wipe the base with a damp cloth only.
Skipping the gasket
The rubber seal is small, cheap, and the most neglected part in the machine. A worn or missing gasket leaks, and leaks reach the motor. Inspect it monthly, and replace it at the first sign of stiffness, cracking, or a persistent smell.
Leaving residue to dry overnight
Dried smoothie or soup bonds to the jar and blade hub. Removing it later takes soaking and scrubbing, and the scrubbing is what scratches surfaces. Rinse immediately, even if you plan to wash properly later.
Blending hot liquids with the lid sealed tight
Steam builds pressure inside a closed jar and can blow the lid off, splattering hot contents. Remove the filler cap and cover the opening with a folded towel. Start on the lowest speed and increase gradually.
Running the motor continuously past its rating
Most home blenders are designed for short cycles, often a minute or less at a time. Read your manual for the stated limit and respect it. Long continuous runs overheat the motor and wear the coupling.
If the blender overheats or smells hot, unplug it immediately. A hot electrical smell or metal-on-metal grinding signals a problem that will not fix itself with more blending.
Ignoring the blade condition
A nicked or bent blade assembly vibrates and strains the shaft. If blades are visibly damaged, replace the assembly rather than continuing to use it.
Storing with the lid sealed and damp
Closing a damp jar traps moisture and encourages mildew. Store the jar open, or with the lid resting loosely on top.
FAQ
How often should I clean my blender?
Rinse the jar and wash the blade assembly after every use. Wipe the base and clear the vents weekly. Do a vinegar soak and a full inspection once a month. That schedule takes only a few minutes per session and prevents most common failures.
Is it safe to put blender parts in the dishwasher?
Many jars and lids are dishwasher-safe, but blade bases and gaskets often are not. Check your manual. Hand-washing those parts protects the seal and keeps the blade hub clean.
How do I know when to replace the gasket or coupling?
Replace the gasket when it feels stiff, looks cracked, or the jar starts leaking. Replace the coupling when its teeth look rounded or cracked. Both parts are inexpensive and swapping them early prevents motor strain.
Can a dull blade be sharpened, or should I replace it?
Replacement is usually the practical choice for home blenders. Blade assemblies are sold as complete units for most models. Sharpening a curved, multi-blade assembly rarely produces good results.
Does a blender need any lubrication?
No. Sealed bearings in home blenders do not require user lubrication. Adding oil can attract dust and damage the motor housing.
Can I blend frozen ingredients without harming the motor?
Yes, in small amounts, using pulses and enough liquid to keep things moving. Avoid packing the jar with solid frozen blocks, which stalls the blades and strains the coupling.
Conclusion
How to Extend Your Blender Lifespan With Simple Maintenance comes down to repetition, not effort. Rinse after every use, hand-wash the blade base and gasket, dry everything fully, and keep the vents clear. Add a monthly check of the gasket and coupling, and you will catch wear while parts are still cheap to replace. Respect the fill line and the motor’s cycle limits, and the machine will keep pace with your kitchen for years. Pick one habit from this guide and start it with your next blend, then add the monthly checklist to your calendar this week.