

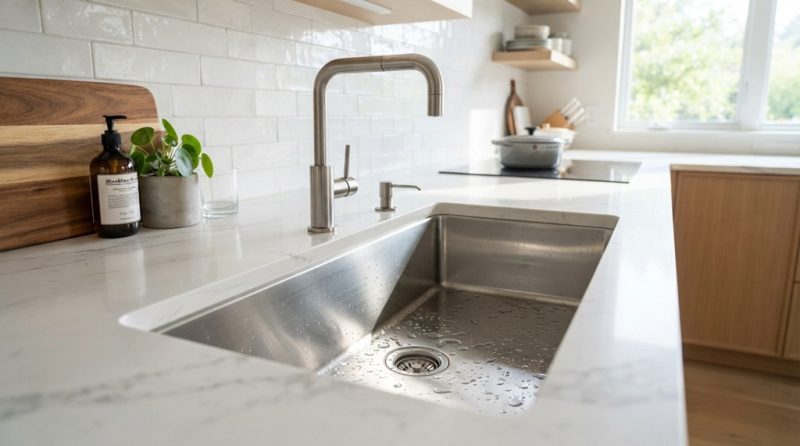
To deep clean a kitchen sink until it shines, scrub it with baking soda and vinegar, rinse thoroughly, then polish with a few drops of oil to bring back the shine. This works on stainless steel, porcelain, and composite sinks, and it takes less than 30 minutes from start to finish.
Most kitchen sinks look “clean” after a quick rinse, but they’re often coated in a dull film of soap scum, mineral deposits, and food residue that regular washing never fully removes. Over time this buildup makes even a brand-new sink look tired and gray.
The good news is you don’t need harsh chemicals or expensive products to fix this. A proper deep clean uses a handful of household staples, applied in the right order, to strip away grime and restore that fresh-from-the-showroom shine.
What You’ll Need Before You Start
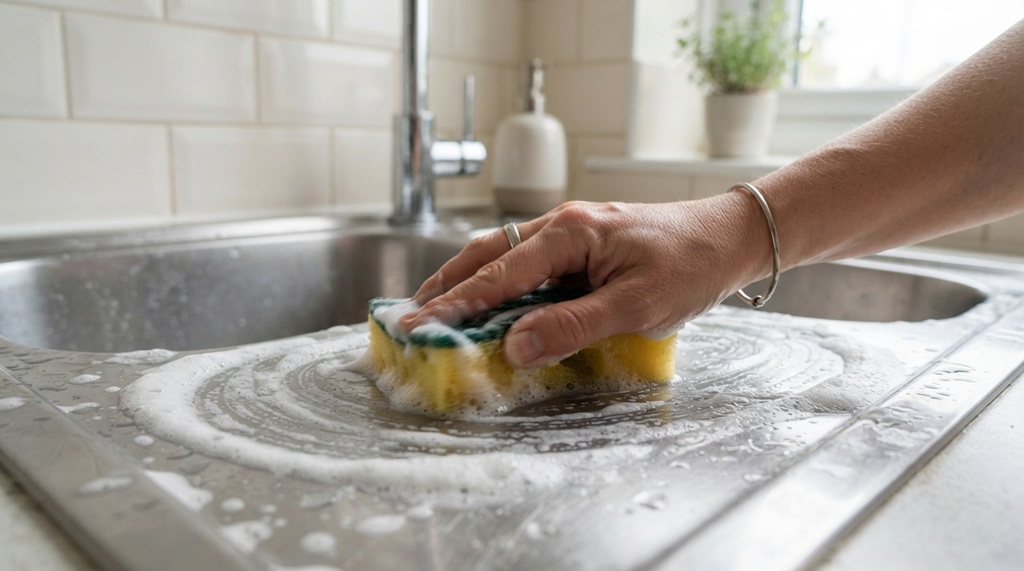
You only need a few basic supplies to deep clean a kitchen sink, most of which are already in your pantry or cleaning cabinet.
- Baking soda
- White vinegar
- Dish soap
- A soft-bristled scrub brush or non-abrasive sponge
- An old toothbrush (for corners and around the faucet)
- Microfiber cloths
- Rubber gloves
- A few drops of mineral oil or olive oil (for the final polish)
Avoid steel wool or abrasive scouring pads on stainless steel or composite sinks, since they can create fine scratches that trap dirt and make future cleaning harder. Stick to soft brushes and non-abrasive sponges instead.
Mastering the Art of a Deep-Cleaned Kitchen Sink
To achieve a true, lasting shine, deep cleaning your kitchen sink requires a methodical approach: start by completely clearing the basin, treat stubborn grime using a gentle reaction of baking soda and vinegar, thoroughly scrub every contour, and finish with a targeted polish to restore its brilliant luster. Elevating your sink from functional to pristine instantly sets the tone for the entire room—and once your basin is sparkling, you can complete your space’s transformation by learning organize a small kitchen for maximum counter space to maintain a seamless, clutter-free sanctuary.
1. Clear and Rinse the Sink
Remove all dishes, drying racks, soap dispensers, and any drain covers or strainers. Rinse the entire basin with hot water to wash away loose food particles and surface debris before you start scrubbing.
2. Sprinkle Baking Soda Generously
Coat the entire sink surface with a thick layer of baking soda, including the sides, the drain area, and around the faucet base. Baking soda is a mild abrasive that lifts grease and stains without scratching most sink materials, making it the safest starting point for almost any sink type.
3. Spray With White Vinegar
Spray or pour white vinegar over the baking soda and let it fizz. This chemical reaction helps break down mineral deposits, soap scum, and mild rust stains, especially around the drain where grime tends to build up fastest.
4. Scrub Every Surface
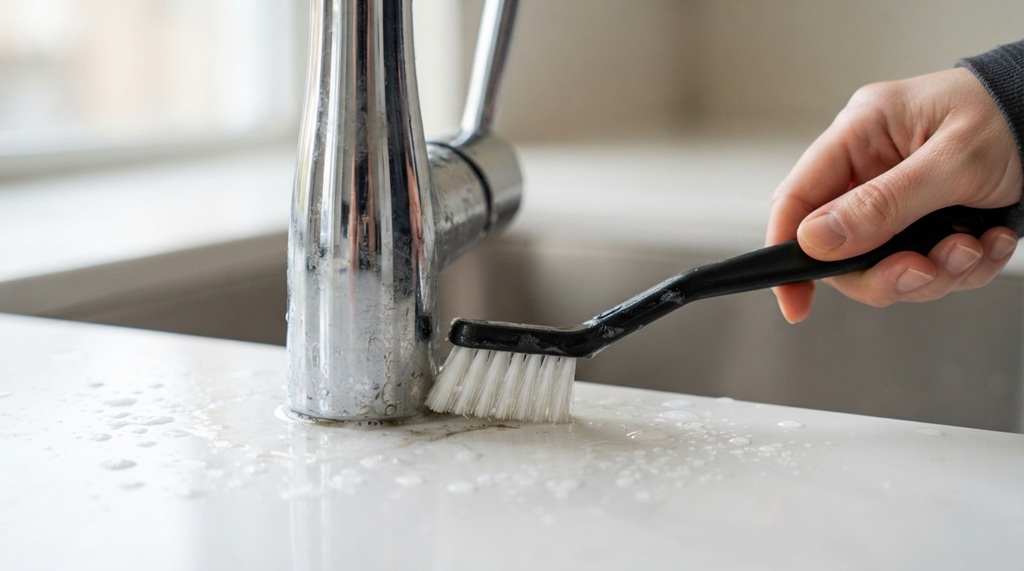
Once the fizzing settles, scrub the entire sink with a soft brush or sponge, working in small circular motions. Pay extra attention to the drain edges, the faucet base, and any corners where a flat sponge can’t reach this is where an old toothbrush comes in handy.
5. Rinse and Dry Completely
Rinse the sink thoroughly with hot water to remove all baking soda residue, then dry it completely with a microfiber cloth. Leaving the sink wet allows new water spots and mineral streaks to form almost immediately, undoing some of your work.
6. Disinfect for Extra Cleanliness
For sinks that see raw meat, poultry, or produce regularly, a light disinfecting pass adds real value. Spray a diluted hydrogen peroxide solution or a food-safe disinfectant over the basin, let it sit for a few minutes, then rinse again.
How to Deep Clean Different Sink Materials
Not every sink responds the same way to the same cleaning method, and using the wrong technique on the wrong material can actually cause damage.
Stainless Steel Sinks
Stainless steel handles baking soda and vinegar well, but always scrub in the direction of the grain to avoid dulling the finish. After rinsing, buff dry with a microfiber cloth, then add a few drops of mineral oil on a clean cloth and wipe the surface to restore shine and help repel future water spots.
Porcelain or Ceramic Sinks
Porcelain sinks scratch and stain more easily than stainless steel, so stick to non-abrasive sponges and avoid anything gritty. A paste of baking soda and a small amount of hydrogen peroxide left on stubborn stains for 15–20 minutes before scrubbing works well for restoring whiteness without harsh bleach.
Composite (Granite or Quartz) Sinks
Composite sinks are durable but porous, which means they can absorb stains and odors if not cleaned regularly. Use a soft sponge with baking soda paste rather than vinegar, since prolonged acid exposure can dull the surface finish over time on some composite materials.
The Overlooked Trick: Cleaning the Drain and Garbage Disposal Together
Most cleaning guides focus only on the visible sink basin, but a genuinely shiny sink also needs an odor-free drain otherwise the smell undercuts all the visible cleaning work. The area right below the drain flange is where grease, food particles, and soap residue actually accumulate first, long before you can see or smell them.
To handle this, drop a handful of ice cubes mixed with coarse salt into the garbage disposal and run it for 10–15 seconds. This combination scrubs the disposal blades and chamber from the inside without any chemicals. Follow this with a half cup of baking soda down the drain, then a cup of white vinegar, and let it sit for five minutes before flushing with hot water. Doing this weekly, rather than only during deep cleans, prevents the buildup that causes both odor and eventual drain clogs.
How to Maintain the Shine Between Deep Cleans
A deep clean lasts longer when you build a few small habits into your daily routine instead of only cleaning intensively once a month.
- Wipe the sink dry after each use, since standing water is the main cause of water spots and mineral streaks on stainless steel and glass-like finishes.
- Rinse away food debris immediately rather than letting it sit, especially acidic foods like tomatoes or citrus that can stain porcelain and composite surfaces.
- Do a quick baking soda scrub once a week to prevent the kind of buildup that requires a full deep clean.
- Keep a small squeegee near the sink for a 10-second dry-down after washing dishes.
According to industry experts in home cleaning, consistent light maintenance is generally more effective at preserving a sink’s finish long-term than infrequent heavy scrubbing, since it prevents mineral and grease buildup from ever hardening in the first place.
Common Mistakes That Dull a Kitchen Sink’s Shine
Even careful cleaners can accidentally damage their sink’s finish by using the wrong tools or products.
- Using steel wool or abrasive pads: These create micro-scratches on stainless steel and composite surfaces that trap dirt and make the sink look duller over time.
- Mixing bleach and vinegar: This combination produces toxic chlorine gas and should never be done under any circumstances.
- Letting cleaning products sit too long: Leaving vinegar or acidic cleaners on composite or porcelain surfaces for extended periods can etch or discolor the finish.
- Skipping the drying step: Air-drying naturally leaves water spots and mineral deposits that build up into a permanent film if not wiped away regularly.
FAQ
How often should I deep clean my kitchen sink?
A full deep clean once a week is enough for most households, with a quick daily wipe-down and rinse in between. Kitchens with heavy daily use, such as those preparing raw meat often, may benefit from a light disinfecting pass every few days.
Can I use bleach to clean my kitchen sink?
Diluted bleach can be used on porcelain sinks occasionally, but it should never be mixed with vinegar or ammonia-based products. For stainless steel and composite sinks, bleach is generally not recommended since it can cause pitting or discoloration over time.
Why does my stainless steel sink still look dull after cleaning?
A dull look after cleaning is usually caused by hard water mineral deposits or scrubbing against the metal’s grain rather than with it. Switching to the mineral oil polishing step and scrubbing in the direction of the grain typically restores the shine.
What’s the best natural sink cleaner for daily use?
A simple mix of dish soap and warm water is sufficient for daily cleaning, with a baking soda scrub reserved for weekly maintenance. This keeps the sink clean without exposing the surface to acidic ingredients too frequently.
How do I get rust stains out of my kitchen sink?
For light rust stains, a paste of baking soda and a small amount of lemon juice or cream of tartar left on the stain for 15–20 minutes usually lifts it before scrubbing. Deeper rust stains may need a commercial rust remover formulated specifically for the sink’s material.
Conclusion
Deep cleaning a kitchen sink doesn’t require expensive products or complicated steps just baking soda, vinegar, the right scrubbing technique for your sink’s material, and a final polish to bring back the shine. Pair that deep clean with small daily habits like drying the sink after use and a weekly drain refresh, and you’ll spend far less time restoring shine because the buildup never gets the chance to set in.
