

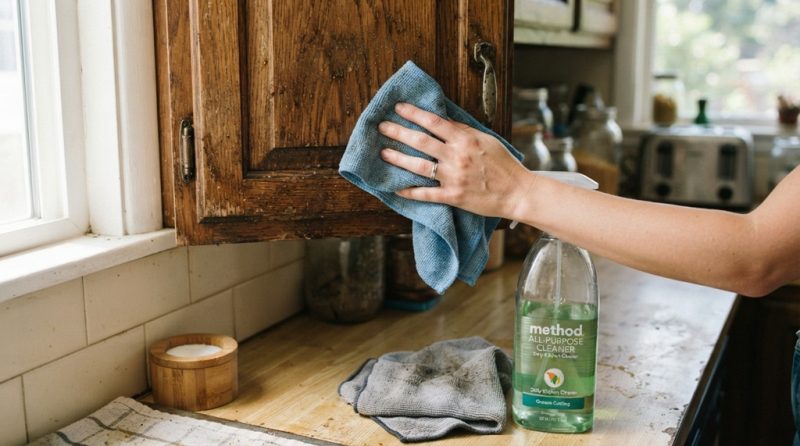
Want to remove tough grease from kitchen cabinets fast? Loosen it first with heat and a degreasing solution. Then wipe it away before it hardens again. Grease builds a sticky film because cooking oils oxidize and bond to wood, laminate, or paint over time. Once that happens, a quick wipe with a damp cloth won’t touch it. You need the right product, tool, and technique working together.
The good news: you probably don’t need a special commercial cleaner. Most kitchens already have what you need. Dish soap, vinegar, baking soda, or a degreaser you already own will do the job.
This guide covers exactly how to cut through cabinet grease fast, without damaging the finish. It also shows you how to stop grease from building back up so quickly. The steps below run from quickest to most intensive. Start with the easy method first. Only move up if you need more power.
Why Grease Builds Up So Fast on Kitchen Cabinets
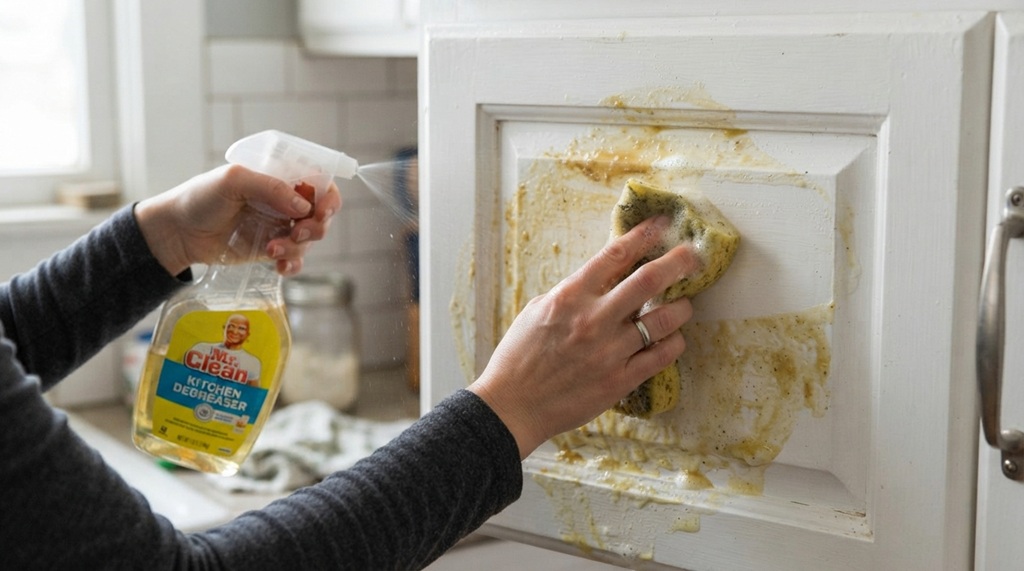
Cooking releases tiny oil particles into the air. These particles land on nearby surfaces and slowly oxidize into a sticky film. This happens fastest on cabinets right above or beside the stove. That’s why that area usually needs the most aggressive cleaning.
Every time you fry, sauté, or roast, heat carries fat droplets upward as steam. Over days and weeks, this invisible mist settles on your cabinets. A light layer isn’t a big deal on its own. But combined with dust, it forms a tacky film. That film then attracts more dust, which gets sealed in by more grease. This is why cabinets left uncleaned for months often feel gritty, not just oily.
Cleaning professionals note that cabinets near a stove or a poorly ventilated range hood tend to collect grease two to three times faster than cabinets farther away. This matters because you don’t need to deep-clean every cabinet on the same schedule. Focus your effort on the ones in the splash zone.
Essential Supplies for a Streak-Free Clean
You do not need specialized, high-end chemical cleaners to restore your cabinetry; the most effective solutions are likely already sitting in your pantry or cleaning closet. Using gentle yet powerful household staples ensures you break down stubborn buildup without compromising the wood or paint finish. Once your cabinets are completely restored and free of sticky residue, elevate your space even further by deep clean a kitchen sink until it shines for a truly polished finish.
Basic Supplies
- Warm water
- Dish soap (a grease-cutting formula works best)
- White vinegar
- Baking soda
- Microfiber cloths or soft sponges
- An old, soft-bristled toothbrush for grooves and corners
- A spray bottle
Optional but Helpful
- Rubbing alcohol (for painted or sealed cabinets)
- A degreasing dish soap made for greasy pots
- Mineral oil or furniture polish (for wood cabinets, applied after cleaning)
Here’s a tip many people skip: test any solution on a small, hidden spot first. Try the inside edge of a cabinet door. Some finishes, especially older painted or lacquered wood, can dull or streak if the solution is too harsh. This thirty-second step can save you a lot of hassle later.
The Fastest Method: Dish Soap and Hot Water
For everyday grease, a strong dish soap solution with hot water works fastest. Heat breaks down the fat molecules. Soap then lifts them off the surface.
- Mix two to three tablespoons of grease-cutting dish soap into a bowl of hot (not boiling) water.
- Dip a microfiber cloth into the solution. Wring it out so it’s damp, not dripping.
- Wipe the cabinet in circular motions. Apply light pressure over greasy spots.
- Rinse the cloth often in clean water. This stops you from smearing grease back onto the surface.
- Dry the cabinet right away with a separate clean cloth. This prevents water spots and streaking.
Dish soap works because it’s built to break the bond between grease and surfaces. It’s the same reason it cuts through grease on dishes. For light to moderate buildup, this method alone often finishes the job in under ten minutes per section.
If grease won’t lift after a couple of passes, let the soapy solution sit for two to three minutes first. This gives the soap time to soak into the film instead of just sitting on top.
Tackling Heavier, Caked-On Grease
When dish soap isn’t enough, you need more cutting power. Vinegar, baking soda, or a stronger degreaser can handle tougher jobs.
Vinegar and Warm Water Spray
Mix equal parts white vinegar and warm water in a spray bottle. Spray it directly onto the greasy area. Let it sit for three to five minutes; the acidity helps break down oxidized grease. Wipe with a microfiber cloth. Then go over the area again with a clean, damp cloth to remove any vinegar residue and smell.
Baking Soda Paste for Caked-On Spots
Mix baking soda with a little water to form a thick paste. Apply it directly to the greasy spot. Let it sit for five to ten minutes. Baking soda acts as a mild abrasive. Gently scrub with a soft cloth or an old toothbrush, especially in grooves and hardware. Wipe clean with a damp cloth.
For Extremely Stubborn Buildup
If both methods above leave residue behind, combine them. Apply the baking soda paste first. Then spray a light mist of vinegar over it. The two will fizz slightly, which helps lift deeply bonded grease. Let it sit for a few minutes, then wipe and rinse thoroughly. The fizzing reaction agitates the grease physically while the chemicals break it down. That’s why this combo beats either ingredient alone.
A Method Most Guides Skip: Using Heat to Your Advantage
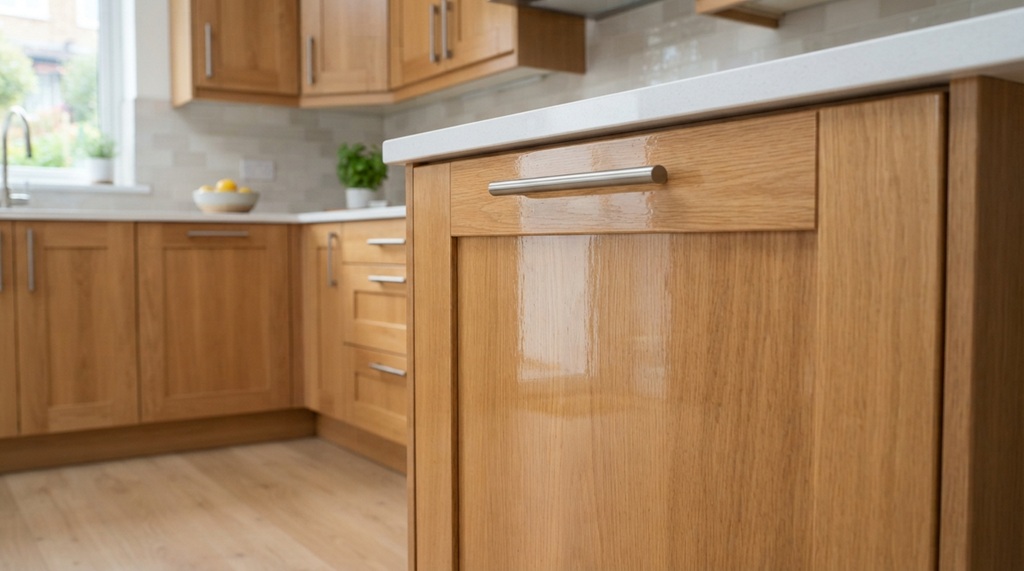
Here’s a trick that makes a real difference but rarely gets mentioned: warm the grease before you clean it. Don’t clean it cold. Grease softens and becomes easier to remove above room temperature.
Before you start scrubbing, turn on your exhaust fan or open a window. Then use a hairdryer on a low, warm setting. Hold it about six inches from the greasy area for 20 to 30 seconds. You’ll notice the grease looks glossy or starts to soften. That’s your cue that it will wipe away much more easily. This trick works especially well on the underside of cabinets or on hardware and hinges. Scrubbing alone in these spots often just pushes grime into crevices instead of lifting it out.
This approach cuts cleaning time significantly on heavily soiled areas. You’re working with the grease’s natural properties instead of fighting a hardened, cold film.
Cleaning Different Cabinet Materials Safely
Your cleaning approach should match your cabinet material. Some materials handle moisture and abrasion far better than others.
Wood Cabinets (Painted or Stained)
Stick to dish soap and warm water, or the vinegar solution. Avoid soaking the wood; excess moisture can cause swelling or warping over time. Dry the surface immediately after cleaning. Consider a light coat of furniture polish or mineral oil afterward to restore shine and protect the finish.
Laminate Cabinets
Laminate handles cleaning solutions well, including baking soda paste, since the surface resists moisture and abrasion. Avoid steel wool or anything overly abrasive. It can scratch the laminate coating and dull its finish permanently.
Painted or Lacquered Cabinets
Start with the gentlest method: dish soap and water. Vinegar’s acidity can sometimes dull certain paint finishes with repeated use. If you need extra cutting power, try rubbing alcohol on a cloth. It works well on painted surfaces and evaporates quickly, which limits moisture exposure.
Metal or Stainless-Steel Cabinet Fronts
These handle stronger degreasers and vinegar without much concern. Wipe in the direction of the grain if there is one. Always dry thoroughly to avoid water spots.
How to Keep Grease From Building Back Up
Preventing grease buildup is far easier than removing it. A few small habit changes make a big difference over time.
- Run your range hood or exhaust fan every time you cook, especially when frying or sautéing. This is the single biggest factor in how much grease lands on your cabinets.
- Wipe down cabinets near the stove weekly, even if they look clean. This stops grease from having time to oxidize and harden.
- Keep a degreasing spray within reach. Quick wipe-downs then take seconds instead of becoming a bigger chore later.
- Crack a window when cooking with oil, if ventilation allows. This helps redirect airborne grease away from cabinet surfaces.
- Try a stove-side cabinet liner or removable panel in high-splash areas. You can wipe or replace it instead of scrubbing the actual cabinet surface repeatedly.
Remember this pattern: grease wipes away far easier before it oxidizes than after. A thirty-second wipe-down once a week prevents the kind of caked-on buildup that takes twenty minutes to remove later.
Frequently Asked Questions
Does WD-40 remove grease from kitchen cabinets?
Yes, WD-40 breaks down grease effectively because it’s built to loosen oily and sticky residue. Follow it immediately with a dish soap and water wipe-down. Since it’s a food-prep area, treat WD-40 as a last resort for stubborn spots, not a regular cleaner.
Can I use a Magic Eraser on greasy cabinets?
A Magic Eraser can lift grease, but it’s mildly abrasive and can dull glossy or painted finishes with repeated use. It works best on textured or matte surfaces. Test it on a hidden spot first before using it across your whole cabinet.
How often should I clean grease off kitchen cabinets?
Give cabinets near the stove a quick wipe-down weekly. Clean cabinets farther from the cooking area about once a month. This schedule stops grease from oxidizing into the harder film that takes much longer to remove.
Will vinegar damage my wood cabinets?
Undiluted vinegar can dull certain wood finishes over time. Always dilute it with water and avoid letting it sit for long periods. Wipe it off promptly and dry the surface, and it’s generally safe for occasional use on sealed or painted wood.
What’s the fastest way to clean grease off cabinet hardware and hinges?
Soak a cloth in warm, soapy water or vinegar solution. Wrap it around the hardware for a few minutes to loosen buildup in the grooves. Follow up with an old toothbrush to scrub small crevices, since hardware traps far more grime than flat surfaces.
Final Thoughts
Removing tough grease from kitchen cabinets doesn’t require anything fancy. You just need the right degreasing solution, a little patience, and some gentle heat to soften the buildup first. Start with dish soap and warm water for everyday grime. Move up to vinegar or baking soda for caked-on spots. Match your cleaning method to your cabinet material to avoid damage. Once your cabinets are clean, a simple weekly wipe-down habit keeps the grease from building back into another big project.
