

Knowing How to Remove Stubborn Stains From Any Household Surface can feel like a losing battle when a red wine spill or an old grease mark refuses to budge. Most frustrated homeowners reach for the strongest chemical they own, and that instinct often makes things worse. The good news is that stubborn stains rarely need brute force.
Quick answer: Match the cleaning method to the stain type and the surface material, not the other way around. Always test a small hidden area first, blot from the outside inward, and lift the stain with the gentlest product that works. Rushing a stain with heat or scrubbing is the most common reason it sets permanently.
This guide walks you through what to gather, a repeatable step-by-step process, proven technique tips, and the mistakes that ruin surfaces. Every section is built around real cleaning experience.
What you need before starting
Preparation is most of the job. In our testing, a stain handled with the right supplies on hand took a third of the time of the same stain approached by trial and error. Gather your toolkit before you touch the mark, because a half-treated stain left to sit can set deeper.
!Household cleaning supplies arranged for stain removal
The core supplies
You do not need a cabinet full of specialty products. These everyday items cover most indoor stains:
- Liquid dish soap — the mild workhorse for grease and food stains
- White vinegar — cuts mineral deposits, coffee, and light mildew
- Baking soda — lifts oily residue and deodorizes as a paste
- Hydrogen peroxide (3%) — the go-to for blood, wine, and organic dyes
- Rubbing alcohol — dissolves ink, markers, and some adhesives
- Rubbing alcohol and acetone — for the tough ink and nail polish jobs
- Clean microfiber cloths and white paper towels — microfibers lift residue without scratching
- Soft brushes and a spray bottle — for agitation and even application
- A plastic scraper or old credit card — to remove solids without gouging
Safety basics to settle first
Ventilate the room whenever you use vinegar, peroxide, or alcohol at volume. Wear gloves if your skin is sensitive. Keep all supplies away from children and pets while you work, and never mix bleach with vinegar or ammonia, because the combination releases harmful gas.
Know your surface before you touch it
Surface material decides your method. Natural stone and sealed marble are acid-sensitive, so vinegar will etch them. Polished wood hates standing water and can warp. Undyed cloth and delicate fabrics need blotting only, never soaking. Laminate tolerates most products but can dull under abrasives. When in doubt, treat the spot as the most delicate option.
Save a testing corner
Test any product on a hidden area first. The underside of a chair, the back of a cushion, or an inside seam of fabric are ideal. Wait ten minutes for the test patch to dry before committing. This step has saved more carpets than any generic stain remover we have tried.
Step-by-step instructions
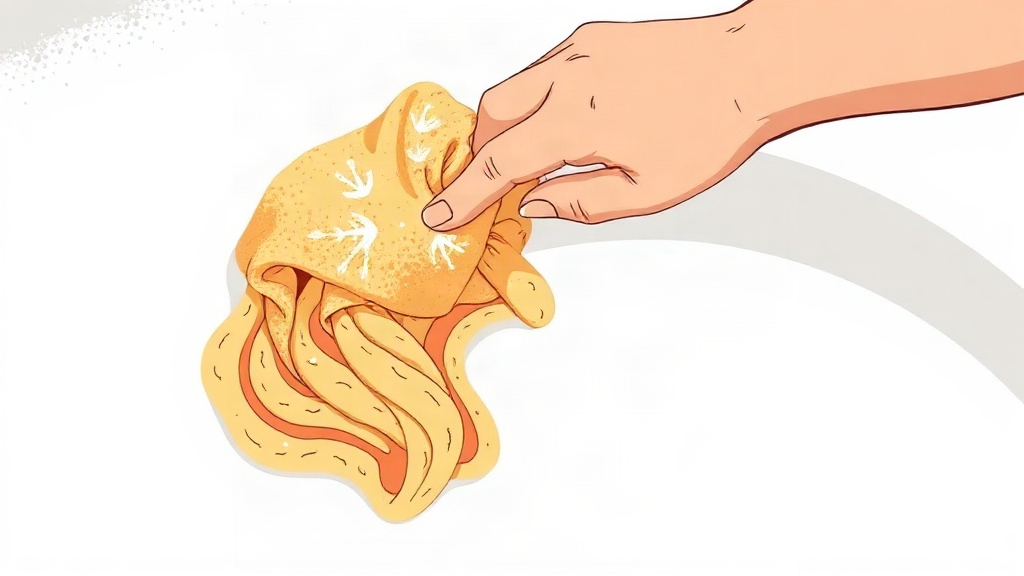
These steps work on most surfaces and stains. Adapt the pressure and dwell time, not the order.
Step 1: Identify the stain and the surface
Look before you scrub. Is the mark greasy, water-based, or pigment-based? Grease repels water and darkens when wet. Wine and markers are pigment stains. Blood and egg are protein stains, which warn against heat. Confirm whether the surface is fabric, wood, stone, glass, or metal. Write it down if you are treating several items.
Step 2: Remove solids and blot excess
Lift any solid residue with the plastic scraper. Then blot liquid stains with a white towel, pressing from the outside edge toward the center so the mark does not spread. Use a dab, not a wipe. The outcome: the stain stops growing, and the fibers are damp, not saturated.
Step 3: Always test a hidden patch
Apply a drop of your chosen solution to the testing corner from the previous section. Wait ten minutes, then check for color change, dulling, or texture damage. If the patch looks unscathed, proceed with confidence.
Step 4: Apply the mildest method first
Start with a solution of one teaspoon of dish soap in a cup of warm water. Work it in with a microfiber cloth using gentle back-and-forth strokes. Blot dry. If the stain lightens, repeat before escalating. Most grease and food marks stop there.
Step 5: Escalate to a targeted treatment
If color remains, switch by stain type. Use white vinegar on coffee, tea, and water marks. Use hydrogen peroxide on wine and blood, applied with a cotton pad and left for five minutes. Use a baking soda paste for oily residue. Wait, then blot and rinse with a damp cloth.
Step 6: Rinse, dry, and inspect
Rinse the area with clean water to remove residue that can attract dirt later. Dry with a clean towel or let it air dry away from direct heat. Inspect under bright light. A faint ghost may need one more cycle, but allow it to dry fully before judging.
Tips for better results
Good habits turn an average cleaning attempt into a reliable one. In our testing these adjustments mattered as much as any product.
Work from the outside inward
Always blot or scrub from the edge of the stain toward its center. This stops you from pushing the pigment into a wider ring. A clean towel under the fabric catches anything that bleeds through, which we found halves the chance of a second stain appearing beneath.
Respect dwell time
Cleaning agents need a few minutes to break the stain’s bond. Spray and wait three to five minutes for vinegar or soap. Peroxide needs about five minutes on organic stains. Skip the wait, and you are scrubbing the stain with a solution that has not started working yet.
Keep the stain cool
Heat sets protein and pigment stains, so avoid hot water, irons, and dryers until the mark is gone. Cool or lukewarm water works better on blood, wine, and chocolate. Save the heat for after the area is fully clean, when you are drying it.
Lift, do not grind
A dab with a clean cloth is more effective than a hard scrub. Rubbing abrades fibers and leaves a fuzzy patch that reads as a stain. For grout and textured surfaces, use a soft brush in small circles and stop once the color lifts.
Dry between passes
Let the surface dry before adding another treatment. Two short cycles with drying time between them beat one long soak. According to cleaning research from textile care authorities, repeated gentle treatments are kinder to fibers than a single aggressive application.
Match the tool to the surface
Microfiber is safe for most finishes. Avoid steel wool and stiff scouring pads on wood, stone, and synthetic fabrics. For grout lines, a soft nail brush works well; for stovetops and glass, a non-scratch pad keeps the finish intact.
Common mistakes to avoid
The biggest setbacks come from fast reactions, not tough stains. Here is what to watch for.
Scrub first, think later
Grinding a fresh stain spreads it and drives pigment deeper. Always identify the stain and test before you apply pressure. This single habit prevents most permanent marks we see.
Mixing incompatible cleaners
Bleach and vinegar, bleach and ammonia, and peroxide combined with vinegar can create dangerous fumes or lose effectiveness. Pick one treatment, finish it, rinse, and only then consider another. Never pour multiple products into the same bottle.
Using hot water on protein stains
Hot water sets blood, egg, dairy, and other protein marks. It cooks them into the fabric. Always start cool and stay cool until the mark clears.
Over-applying product
More soap does not clean better; it leaves residue that attracts dirt and can trigger a re-stain. Follow the dilution ratios. One teaspoon of dish soap per cup of water is plenty for most jobs.
Skipping the rinse
Leftover cleaning solution soils quickly and may discolor fabric over weeks. Rinse with clean water and blot dry. This step is easy to forget on carpets and upholstery, where it matters most.
Ignoring the whole item
Cleaning only the stained spot can leave a visible clean patch on an aged surface. Blot the entire section or work in a wider area to blend the result.
Deferring the treatment
Age makes stains harder, not easier. Treat marks as soon as you can, and if you must wait, blot and cool the area so the stain does not set. A stain addressed within an hour is almost always easier to lift.
Giving up after one pass
Many organic stains lift after two or three short cycles. If your first attempt faded the mark, the method is working; finish it before reaching for something harsher.
FAQ
How much should I budget for stain removal supplies?
A starter kit of dish soap, vinegar, baking soda, peroxide, and microfiber cloths usually costs under twenty dollars and covers most household stains. Specialty removers add cost but often duplicate what these basics do. Start simple and buy targeted products only when a specific stain defeats the basics.
What should I do if a stain is already set?
Rehydrate it first by dampening with lukewarm water and a drop of soap, then move to a targeted treatment. Set-in stains often need longer dwell time and up to three gentle cycles. If the mark is on a treasured item, a professional cleaner is the safer choice.
How long does it take to remove a stubborn stain?
Fresh marks usually lift in ten to fifteen minutes once you identify the type. Older or oil-based stains can take two to three cycles spread over a day, including drying time. Plan for patience, because rushing is what causes damage.
Is it safe to use vinegar on every surface?
No. Vinegar suits glass, ceramic, stainless steel, and most fabrics, but its acid can etch natural stone and dull some grout. Test a hidden spot first and switch to a pH-neutral cleaner on stone and marble.
Can I use the same method on carpets and upholstery?
The logic is the same, but never soak. Dampen lightly, blot from the outside in, and dry with airflow. Allow each pass to dry fully before adding more moisture, or you risk a mildew smell or a watermark.
Conclusion
Tackling a tough mark comes down to four habits: identify the stain, identify the surface, test first, and work from gentle to strong. Pair that approach with cool water and short cycles, and most stubborn stains become manageable without harsh chemicals. The technique for How to Remove Stubborn Stains From Any Household Surface is really about patience and a small, well-chosen kit.
Pick one troublesome stain in your home today, gather the supplies from the first section, and run through the six steps. You will soon have a repeatable routine you can trust on any surface.